One of the best things about rucking is that it is incredibly easy and cheap to get started. All you need is a backpack and some weight…. That’s it. Throw that on your back and start walking.
If you’re looking for a flexible, budget-friendly way to add weight to your ruck, DIY sandbags are hard to beat. They’re cheap, easy to make, and soft enough to be comfortable during long treks. Plus, you can adjust the weight as needed by adding or removing sand. I’ll walk you through everything you need to know to create the perfect sandbag for your ruck and how to use it effectively.
How to Make a DIY Ruck Sandbag
1. Gather Your Materials
Here’s what you’ll need to build a reliable sandbag:
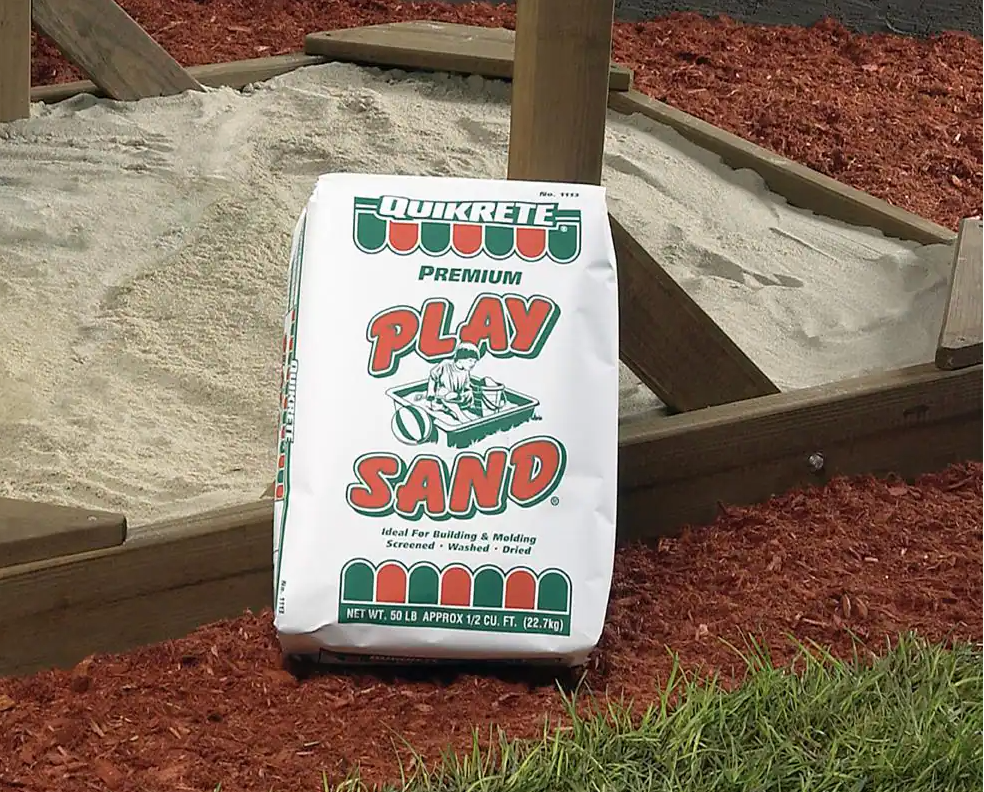
Sand
Available at most home improvement stores, online, or just steal some from your kids sand box. Sand type doesn’t matter, you are looking for the cheapest price per pound. You can normally get a 50 lbs bag of play sand for around $5.
Bags
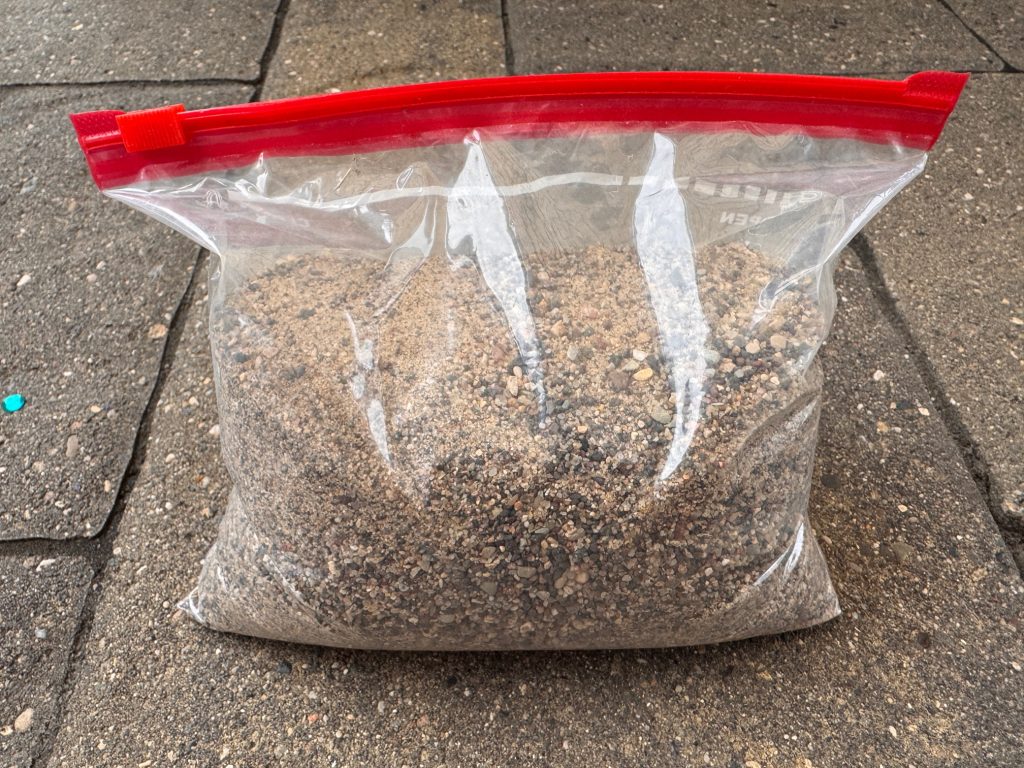
Contractor trash bags or heavy-duty freezer bags work great for holding the sand. I use quart bags and they work well for 5 lbs bags and they are about $4 for a 12 pack.
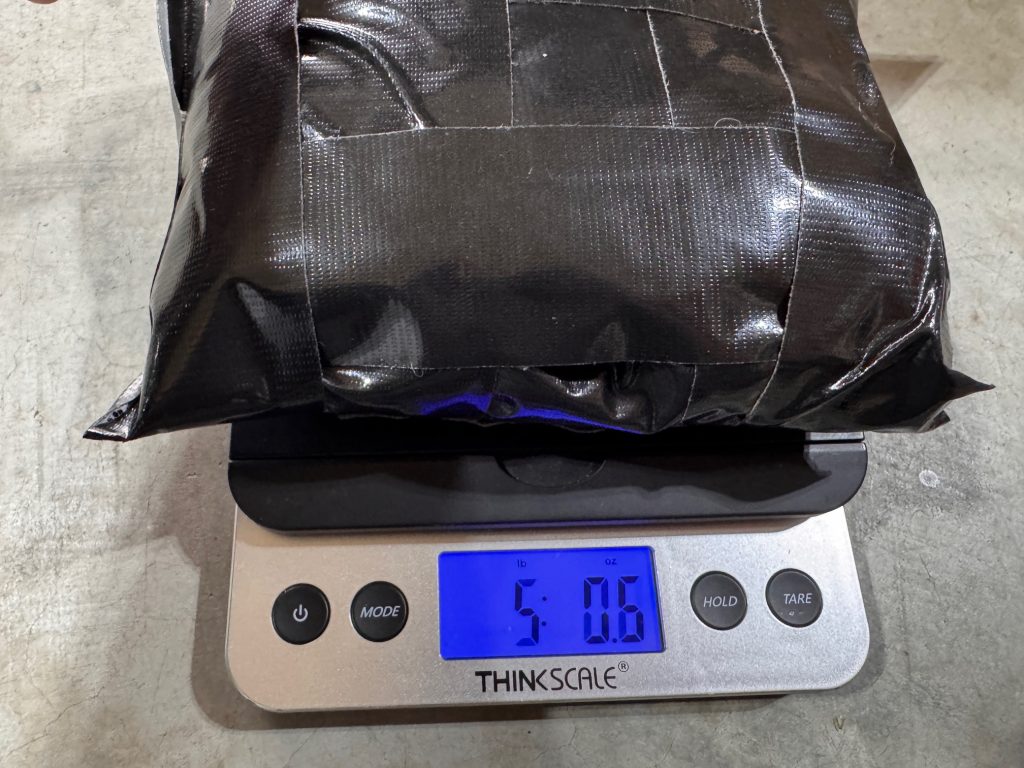
Scale
To measure your bags and know how much weight you are adding. This will help you track your progress. Most people have a scale at home but if you need one, I use Amazon Basics Digital Kitchen Scale for around $10.
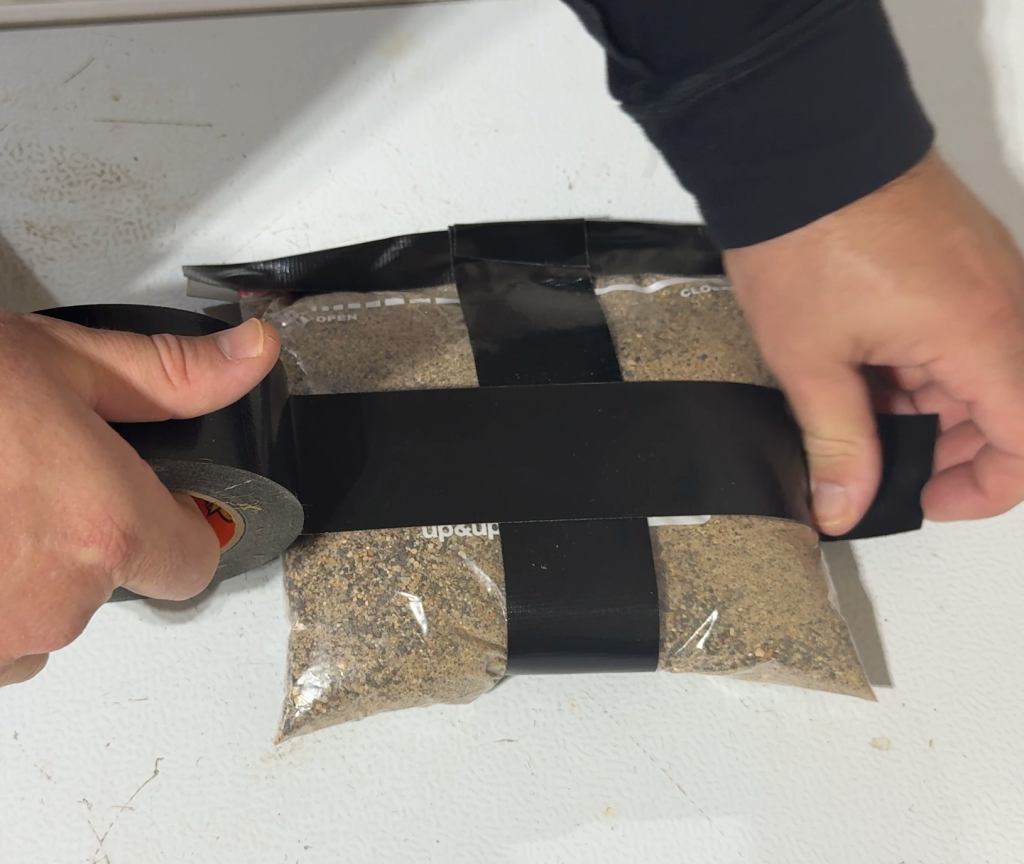
Durable Tape
This is used to seal the inner bag and prevent leaks. Warp the whole bag in duct tape or heavy-duty tape(like Gorilla Tape). I use The Original Duck Brand Duct Tape for about $5-8. When you are done, it will look like you are smuggling drugs.
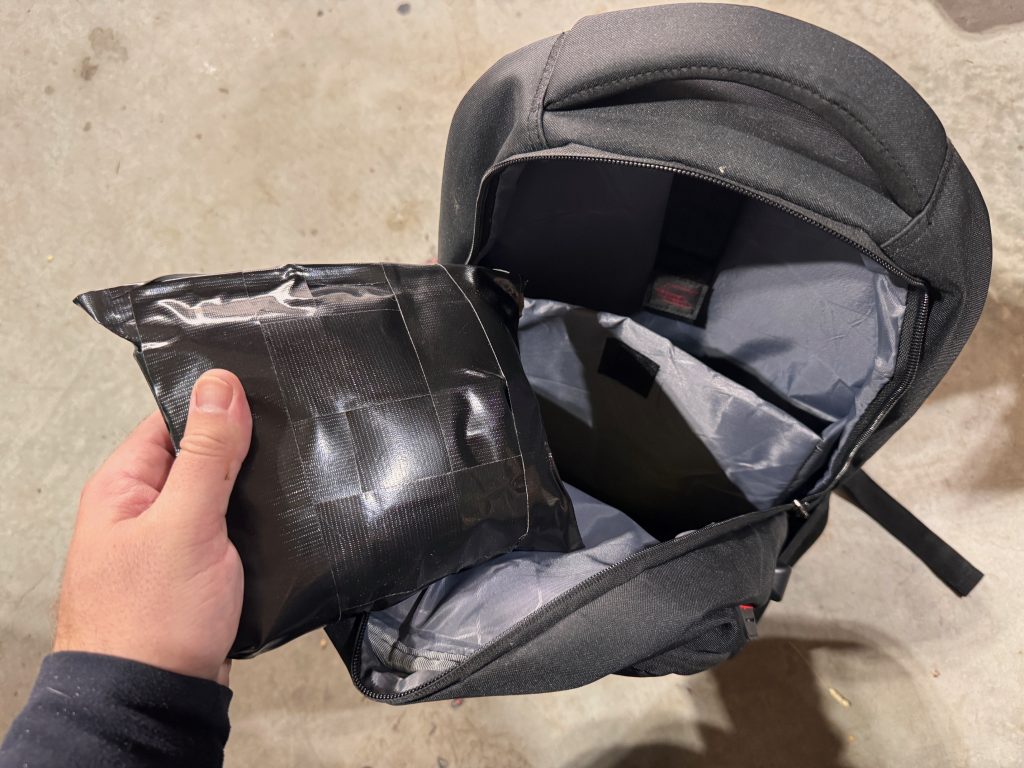
Backpack
Most people have a backpack at home they can use so I would start there. If not, you can find one on sale for around $20 on Amazon. These might not be the best rucking bag but they will work for just starting out on low weight.
Total price
If you already have a backpack and a scale, you are looking at around $15-20 for 50 lbs. of rucking weight. If you don’t, it will be more like $35-50, depending on which backpack and scale you get.
2. Build the Inner Bag
The inner bag holds the sand and prevents leaks, so make it as secure as possible:
- Measure out the weight you want (start with 5–10 pound bags if you’re new).
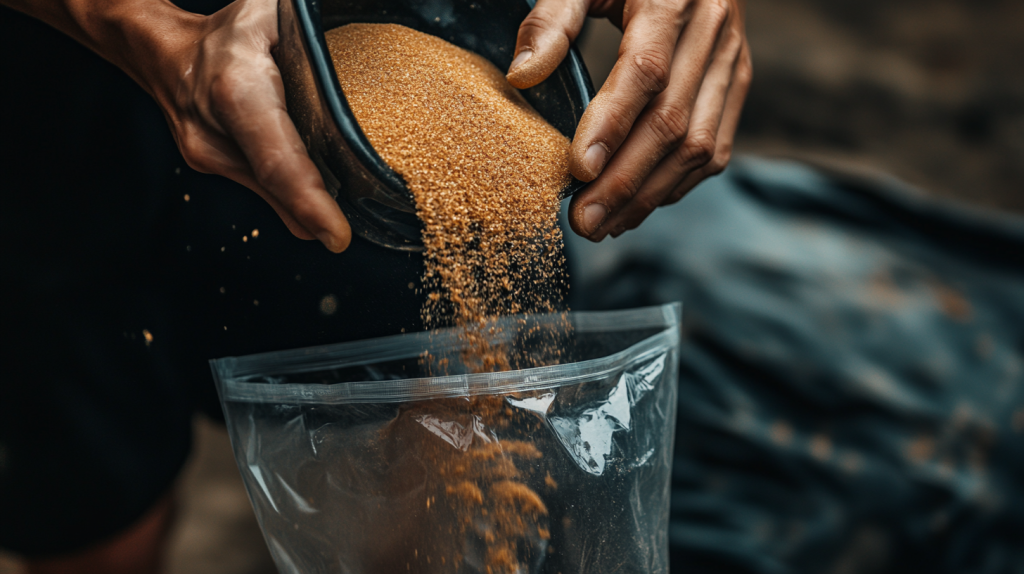
- Pour the sand into a heavy-duty trash bag or storage bag.
- Squeeze out excess air and seal the bag with duct tape. Fold the bag over and tape it again to create a double seal.
- Optionally, use zip ties to reinforce the closure.
3. Add the Outer Layer (optional)
The outer bag keeps the inner bag protected and makes it easier to handle:
- Place the sealed sandbag into a sturdy canvas bag, old pillowcase, or military surplus sandbag.
- Roll the top of the outer bag down tightly and secure it with duct tape, a zipper, or velcro.
Tip: Double-bagging is a good way to add protection! The outer bag acts as your first line of defense against wear and tear, while the inner bag holds the weight securely.
How to Use Sandbags as Ruck Weights
1. Positioning the Sandbag in Your Ruck
- Place the sandbag as close to your back as possible to ensure proper weight distribution. Most rucks have a hydration bladder or weight compartment that works perfectly for securing your sandbag.
- If your ruck doesn’t have a dedicated pocket, use foam padding or a towel to keep the sandbag from shifting around.
2. Balancing the Load
- Balance is crucial for comfort and preventing strain. If your ruck feels lopsided, adjust the position of the sandbag or use smaller sandbags on either side for even distribution.
- For heavier loads (30+ pounds), consider splitting the weight into two smaller sandbags to improve stability.
3. Securing the Sandbag
- Use straps, a tie-down, or a snug compartment to keep the sandbag from sliding inside your ruck.
- For longer rucks, check the bag periodically to make sure it hasn’t shifted, as this can throw off your stride and increase fatigue.
Personal Experience
I’ve been using DIY sandbags for years, and honestly, they’re my go-to when I want a comfortable, adjustable setup on the cheap. I started with a 20-pound bag made from an old pillowcase and a few duct-taped Ziploc bags filled with sand. Over time, I graduated to a sturdier military-grade sandbag and pushed my weight up to 50 pounds.
The key for me has always been making sure the bag is secure. There’s nothing worse than a shifting load mid-ruck—it throws off your rhythm and can even lead to injury. Once I figured out how to balance and stabilize the weight, though, sandbags became a game-changer.

